Welcome to our comprehensive guide on whether it’s okay to pour concrete on dirt. If you’ve ever wondered about the feasibility and implications of skipping the sub-base preparation when working with concrete, you’re not alone. Many homeowners and DIY enthusiasts find themselves contemplating this common question. In this blog post, we’ll dive into the pros and cons, the risks involved, and best practices to ensure your concrete projects stand the test of time. Whether you’re planning a small garden path or a larger construction project, understanding the importance of a proper foundation is crucial. Read on to discover expert insights, practical advice, and step-by-step guidance to help you make informed decisions about your next concrete endeavor.
Pouring concrete directly on dirt is generally not recommended due to potential issues with stability, moisture, and lack of support. Properly preparing the ground with a stable sub-base of compacted gravel or sand, along with reinforcement such as rebar or wire mesh, ensures a stronger and more durable concrete structure. This preparation helps prevent cracks, uneven surfaces, and other long-term problems. For optimal results, always test and prepare the soil before pouring concrete.
Table of Contents
Understanding Concrete Foundations
What is a Concrete Foundation?
A concrete foundation is a critical element in building construction, serving as the base upon which the entire structure rests. Essentially, it is a structural component that provides stability and support to buildings, preventing them from sinking or shifting over time. This foundation is typically constructed from poured concrete, known for its durability, strength, and resistance to environmental elements.
The primary purpose of a concrete foundation is to evenly distribute the weight of the building across the ground, minimizing the risk of uneven settling that can lead to structural issues. It also acts as a barrier against moisture, protecting the building’s interior from water damage and mold growth. Additionally, a solid foundation is vital for ensuring the longevity and safety of the structure, making it a cornerstone of any construction project.
The importance of a solid foundation cannot be overstated. Without a robust base, buildings are susceptible to a range of problems, including cracks in walls and floors, doors and windows that fail to open or close properly, and even catastrophic collapse in severe cases. Therefore, investing in a high-quality concrete foundation is crucial for the structural integrity and overall health of a building.
Types of Concrete Foundations
Concrete foundations come in various types, each designed to meet specific needs and conditions of the construction site. Here are some common types of concrete foundations and their unique benefits:
Slab Foundations
Slab foundations are one of the most common types, especially in residential construction. This type involves pouring a single layer of concrete directly onto the ground. It is typically used in areas with a warm climate, where ground freezing is not an issue. The simplicity of slab foundations makes them cost-effective and quick to construct.
Advantages of Slab Foundations:
- Cost-effective due to lower labor and material requirements.
- Quick construction time.
- Minimal risk of pests and mold since there is no crawl space.
- Provides a solid, level surface for flooring.
Pier and Beam Foundations
Pier and beam foundations consist of concrete piers or columns that support wooden beams. This type is particularly suitable for areas with expansive soils that might shift or swell. The elevated design allows for a crawl space underneath the building, providing easy access to plumbing and electrical systems.
Advantages of Pier and Beam Foundations:
- Better adaptability to soil conditions that are prone to movement.
- Easier access to utilities for maintenance and repairs.
- Improved ventilation and reduced risk of moisture-related problems.
- Elevated structures can reduce the risk of flooding.
Basement Foundations
Basement foundations involve digging a hole several feet deep and constructing walls and a floor out of concrete. This type creates additional living or storage space below the main structure. Basement foundations are common in colder climates, as they extend below the frost line, preventing the foundation from shifting due to freeze-thaw cycles.
Advantages of Basement Foundations:
- Provides extra living or storage space.
- Offers better insulation and energy efficiency.
- Protects against frost heave in colder climates.
- Increases the overall value of the property.
Crawl Space Foundations
Crawl space foundations are similar to pier and beam but with a continuous wall around the perimeter. They elevate the building slightly off the ground, providing a small space (crawl space) between the ground and the floor of the building. This type is common in areas with high moisture or termite activity.
Advantages of Crawl Space Foundations:
- Provides access to plumbing, electrical, and HVAC systems.
- Reduces the risk of termite infestation and moisture damage.
- Can be insulated to improve energy efficiency.
- Offers a degree of elevation to mitigate flooding risks.
Each type of concrete foundation has its specific uses and advantages, making it essential to choose the right one based on the building’s requirements and the local environmental conditions. A well-chosen foundation ensures the longevity, safety, and functionality of the structure, providing peace of mind for builders and occupants alike.
By understanding the various types of concrete foundations and their respective benefits, you can make an informed decision that will support the stability and durability of your building project for years to come.

Pouring Concrete Directly On Dirt
Pouring concrete directly on dirt is a common practice, especially for small, DIY projects. While it offers certain benefits, it also comes with potential drawbacks. Understanding both the pros and cons, as well as when this method might be acceptable, can help you make an informed decision.
Pros and Cons
Pros
1. Quick Process: Pouring concrete directly on dirt can save time. There is no need for extensive site preparation, which speeds up the project timeline. This is particularly advantageous for smaller projects where time is a critical factor.
2. Cost-Effective: This method is generally cheaper than pouring concrete on a prepared base. It eliminates the need for additional materials like gravel or sand and reduces labor costs, making it a budget-friendly option for many homeowners.
3. Ease of Execution: For small projects, pouring concrete on dirt is relatively simple. It doesn’t require specialized skills or equipment, making it accessible for DIY enthusiasts.
Cons
1. Stability Issues: One of the main drawbacks is the potential for stability problems. Dirt is not a stable base, and it can shift or settle over time, leading to uneven surfaces and potential structural issues.
2. Risk of Cracking: Concrete poured on dirt is more susceptible to cracking. This happens because the dirt underneath can compact or erode, creating voids that cause the concrete to crack under pressure.
3. Reduced Longevity: Without a proper base, the longevity of your concrete structure may be compromised. It might not withstand heavy loads or adverse weather conditions as effectively as concrete poured on a well-prepared base.
When It Might Be Acceptable
Pouring concrete directly on dirt is not always advisable, but there are specific situations where it might be acceptable:
1. Non-Load Bearing Projects: For projects that don’t require concrete to bear significant weight, such as garden pathways, small patios, or decorative elements, pouring on dirt can be a practical solution. In these cases, the risk of stability issues is less critical.
2. Temporary Structures: If the concrete structure is intended to be temporary or for short-term use, pouring on dirt might be a feasible option. The reduced longevity is less of a concern for structures that are not meant to last for many years.
3. Minor Repairs: For minor repair jobs, such as filling in small holes or cracks in existing concrete, pouring directly on dirt can be a quick and cost-effective fix. However, this should be done with the understanding that it is a short-term solution.
4. Low-Budget Projects: When budget constraints are a major factor, and the project does not require high durability, pouring concrete on dirt can be considered. It allows you to complete the necessary work without incurring high costs.
In conclusion, while pouring concrete directly on dirt can be quick and cost-effective for small projects, it comes with significant risks regarding stability, cracking, and longevity. It is crucial to evaluate the specific requirements of your project and consider whether the potential drawbacks are acceptable. For non-load bearing, temporary, or minor repair projects, this method might be suitable, but for more substantial and permanent structures, a properly prepared base is recommended to ensure durability and performance.

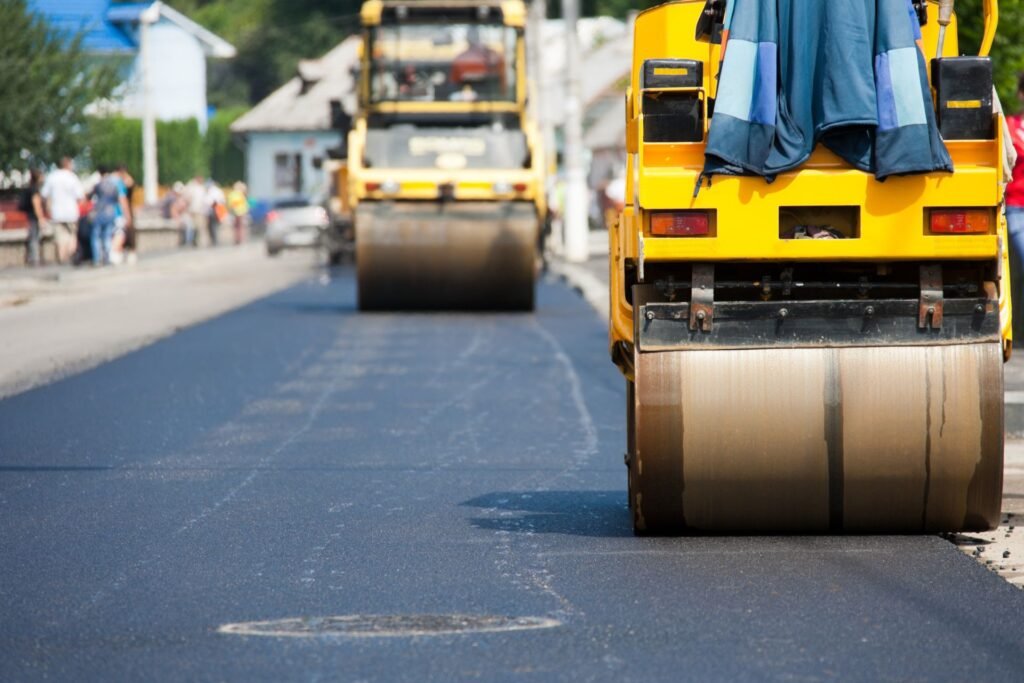
Risks And Challenges
When planning to construct a concrete driveway, it’s crucial to understand the risks and challenges that might arise. These can significantly impact the longevity and stability of your driveway. Let’s dive into some of the key concerns: soil stability issues, moisture problems, and lack of support.
Soil Stability Issues
The type and condition of the soil beneath your concrete driveway play a pivotal role in its overall stability. Different soil types have varying load-bearing capacities and can react differently to environmental conditions. Here’s how soil stability can affect your concrete driveway:
1. How Soil Type and Condition Affect Concrete Stability
Clay Soils: These soils tend to expand when wet and contract when dry. This expansion and contraction can lead to significant movement in the soil, which can cause the concrete above to crack or shift.
Sandy Soils: While sandy soils generally drain well and don’t expand and contract as much as clay, they can still shift or erode over time, leading to a lack of support for the concrete.
Loamy Soils: These are usually the best for supporting concrete as they are well-balanced, but even loamy soils need to be properly compacted to avoid settling issues.
2. Potential for Soil Shifting, Settling, and Erosion
Shifting: Soil that is not adequately compacted or stabilized can shift under the weight of the concrete, leading to cracks and uneven surfaces.
Settling: Over time, the soil can settle, especially if it wasn’t properly prepared before the concrete was poured. This settling can create voids under the concrete, causing it to crack or sink.
Erosion: Water can erode the soil beneath the concrete, especially around the edges, leading to a lack of support and eventual cracking or breaking of the concrete.
Moisture Problems
Moisture is another significant factor that can affect the integrity of your concrete driveway. The presence of water can lead to several issues:
1. Risks of Moisture Seeping Up into the Concrete
Water can seep up from the ground into the concrete, particularly if there isn’t a proper moisture barrier. This can lead to issues like efflorescence, where salts are carried to the surface of the concrete, creating unsightly white stains.
In colder climates, this moisture can freeze and thaw, leading to freeze-thaw cycles that cause the concrete to crack and spell.
2. The Impact of Water on Concrete Durability
Excess moisture within the concrete can weaken its structure, reducing its overall durability and lifespan.
Water can also cause corrosion of any reinforcing steel within the concrete, leading to structural weaknesses and potential failure.
Lack of Support
Having a stable base is critical for ensuring the long-term performance of your concrete driveway. Without proper support, several problems can arise:
1. Why a Stable Base is Critical for Preventing Cracks and Uneven Surfaces
- A stable base helps to evenly distribute the load of the concrete, preventing pressure points that can lead to cracks.
- Without adequate support, the concrete can settle unevenly, creating a bumpy and potentially hazardous surface.
- Proper base preparation, including adequate compaction and using appropriate materials like gravel or crushed stone, is essential to provide a solid foundation for the concrete.
In conclusion, addressing these risks and challenges during the planning and construction of your concrete driveway is essential to ensure its longevity and stability. By understanding and mitigating issues related to soil stability, moisture, and support, you can help prevent common problems and enjoy a durable, long-lasting driveway.

Best Practices For Preparing The Ground
Soil Testing and Preparation
Importance of Soil Testing
Soil testing is a crucial first step in any construction project, particularly when preparing to pour concrete. This process determines the soil’s composition, strength, and stability, which are key factors in ensuring the durability and longevity of your concrete structure. By conducting a soil test, you can identify any potential issues, such as high clay content or poor drainage, which could compromise the integrity of the concrete. Knowing these details allows you to make informed decisions on how to treat the soil, ensuring a solid foundation for your project.
Steps to Prepare the Soil for Concrete (Compaction, Moisture Control)
- 1. Compaction: Proper compaction of the soil is essential. This process involves compressing the soil to remove air pockets and increase its density. Using tools like a plate compactor or a roller, ensure that the soil is compacted to the appropriate level. This step is vital to prevent settling and shifting, which can cause cracks in the concrete.
- 2. Moisture Control: Maintaining the right moisture content in the soil is equally important. Too much moisture can lead to soil expansion and instability, while too little can result in poor compaction. Aim to keep the soil damp, but not waterlogged, to achieve the ideal consistency for a stable base.
Creating a Sub-Base
Materials for a Sub-Base (Gravel, Sand)
A sub-base acts as a secondary foundation layer, providing additional support and stability for the concrete. Common materials for a sub-base include gravel and sand. Gravel is preferred for its excellent drainage properties and strength, while sand is used for its fine, compact nature. The choice of material often depends on the specific requirements of the project and the characteristics of the underlying soil.
How to Lay and Compact the Sub-Base Properly
- 1. Laying the Sub-Base: Begin by spreading a layer of gravel or sand evenly across the prepared soil. The thickness of this layer should be tailored to the project specifications, usually ranging from 4 to 8 inches.
- 2. Compacting the Sub-Base: Just like the soil, the sub-base needs to be compacted to enhance its load-bearing capacity. Use a plate compactor or roller to compress the material until it forms a solid, stable layer. This step helps prevent any future movement or settling that could compromise the concrete’s integrity.
Using Reinforcement
Types of Reinforcement (Rebar, Wire Mesh)
Reinforcement is essential for adding strength and durability to concrete structures. The most common types of reinforcement include rebar (reinforcing bars) and wire mesh. Rebar, made from steel, is available in various diameters and is used to reinforce large concrete slabs and structures. Wire mesh, on the other hand, is a grid of thin steel wires and is typically used for smaller projects or as a supplementary reinforcement to rebar.
How Reinforcement Helps in Improving Strength and Preventing Cracks
- 1. Improving Strength: Reinforcement provides additional tensile strength to the concrete, which is inherently weak in tension but strong in compression. By embedding rebar or wire mesh within the concrete, the material can withstand greater loads and stresses without failing.
- 2. Preventing Cracks: Concrete naturally expands and contracts with changes in temperature and moisture. This movement can cause cracks if not properly managed. Reinforcement helps to distribute these stresses evenly throughout the concrete, minimizing the risk of cracks. Additionally, if cracks do occur, the reinforcement holds the concrete together, preventing the cracks from widening and compromising the structure.
By following these best practices for ground preparation, you can ensure a strong, stable, and long-lasting concrete structure. Proper soil testing and preparation, creating a well-compacted sub-base, and using appropriate reinforcement are all critical steps in achieving a successful concrete project.

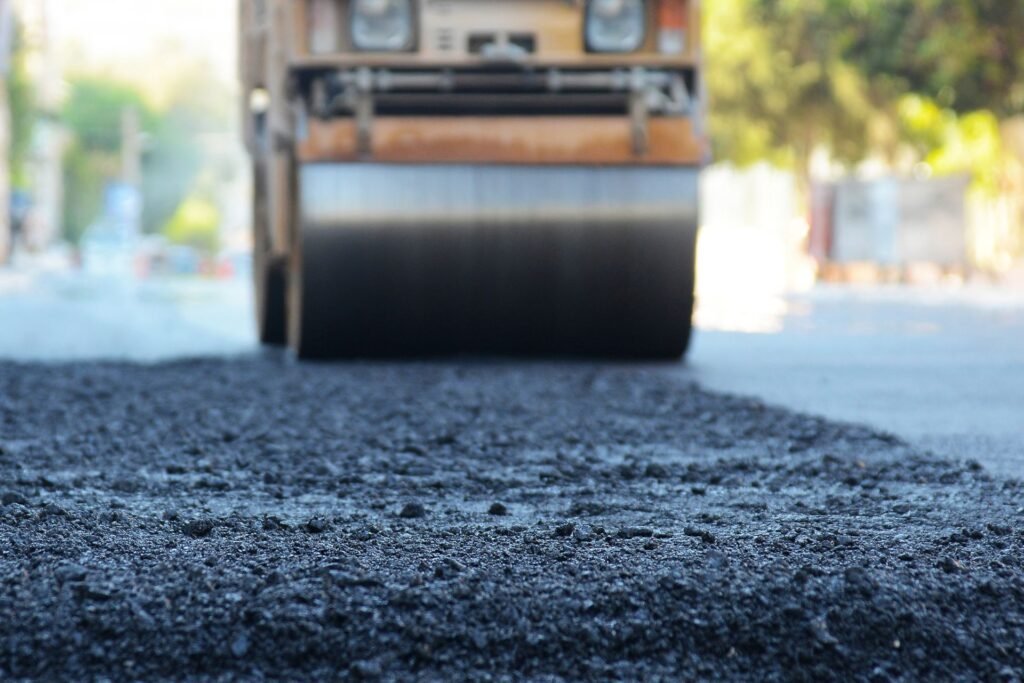
Step-By-Step Guide To Pouring Concrete
Pouring concrete might seem like a daunting task, but with the right tools, materials, and a bit of know-how, it can be a manageable and rewarding project. Whether you’re laying a new patio, driveway, or foundation, following these steps will ensure a smooth and durable concrete surface.
Tools and Materials Needed
Before you start, make sure you have all the necessary tools and materials. Here’s a comprehensive list:
Tools
- Shovels
- Wheelbarrow
- Concrete mixer or mixing tub
- Trowels (flat, pointed, edging)
- Float (magnesium or wooden)
- Concrete saw (if needed for cuts)
- Screed board (straight edge)
- Level
- Measuring tape
- Protective gear (gloves, safety glasses, boots)
Materials
- Concrete mix (pre-mixed or ingredients: cement, sand, gravel)
- Water
- Reinforcement materials (rebar or wire mesh)
- Forming materials (wood or metal forms)
- Release agent (to prevent concrete from sticking to forms)
- Curing compound or plastic sheeting
Preparing the Site
1. Clear the Area
- Remove any vegetation, debris, or old concrete from the site. Use a shovel and wheelbarrow to transport unwanted materials away.
- Ensure the site is free of obstacles that might interfere with the pouring process.
2. Level the Ground
- Use a level and straightedge to make sure the ground is even. Uneven surfaces can cause problems with the concrete’s strength and appearance.
- If necessary, add or remove soil to achieve a flat base. Compact the soil to provide a stable foundation for the concrete.
3. Set Up Forms and Boundaries
- Build forms using wood or metal to outline the shape and size of your concrete pour. Ensure the forms are strong and properly braced to hold the weight of the concrete.
- Apply a release agent to the inside of the forms to prevent the concrete from sticking.
- Check that the forms are level and at the correct height. Use a measuring tape and level to double-check all dimensions.
Mixing and Pouring Concrete
1. Mixing the Concrete
- If you’re using a pre-mixed concrete, follow the manufacturer’s instructions on how much water to add. For custom mixes, combine cement, sand, gravel, and water in the correct proportions.
- Mix until you achieve a uniform, workable consistency. The concrete should be smooth and pliable, not too dry or runny.
2. Pouring the Concrete
- Start pouring the concrete into the forms, beginning at the farthest point and working your way back. Use a shovel or hoe to distribute the concrete evenly.
- Once the forms are filled, use a screed board to level the surface. Move the screed back and forth in a sawing motion to remove excess concrete and fill in low spots.
Finishing Touches
1. Smoothing and Finishing the Surface
- After screeding, let the concrete sit until the water has mostly evaporated from the surface (this is known as “bleed water”). Then, use a float to smooth the surface. Floating helps to compact the concrete and create a smooth finish.
- For edges, use an edging trowel to round off the sides and prevent chipping.
2. Curing Process
- Proper curing is essential for strong, durable concrete. Cover the concrete with a curing compound or plastic sheeting to retain moisture.
- Keep the concrete damp for at least a week by spraying it with water periodically or covering it with wet burlap.
By following these steps, you can achieve a professional-quality concrete surface that will stand the test of time. Whether it’s your first pour or you’re a seasoned DIYer, preparation, and attention to detail are key to success.

Alternatives To Pouring On Dirt
When it comes to constructing a durable and stable foundation, pouring concrete directly onto dirt is not always the best option. Thankfully, there are several excellent alternatives that provide robust and reliable solutions. In this section, we’ll explore three main alternatives: pre-poured concrete slabs, concrete pavers, and precast concrete panels. Each option has unique benefits and applications, ensuring you can find the perfect fit for your project.
Pre-Poured Concrete Slabs
Benefits and Usage
Pre-poured concrete slabs, also known as pre-cast slabs, offer a convenient and efficient alternative to traditional on-site concrete pouring. These slabs are manufactured in a controlled environment and then transported to the construction site, ready for immediate installation. This method significantly reduces the time and labor involved in the construction process.
One of the primary benefits of pre-poured concrete slabs is their consistent quality. Since they are created in a factory setting, these slabs are subjected to stringent quality control measures, ensuring uniform strength and durability. This consistency is often hard to achieve with on-site pouring, where variables such as weather conditions and human error can affect the final product.
Another advantage is the speed of installation. With pre-poured slabs, there’s no need to wait for the concrete to cure on-site. This can save days or even weeks on a project timeline, making them an ideal choice for time-sensitive construction projects.
Pre-poured concrete slabs are versatile and can be used in a variety of applications, including residential foundations, commercial flooring, and even outdoor patios. Their adaptability makes them a popular choice among builders and contractors.
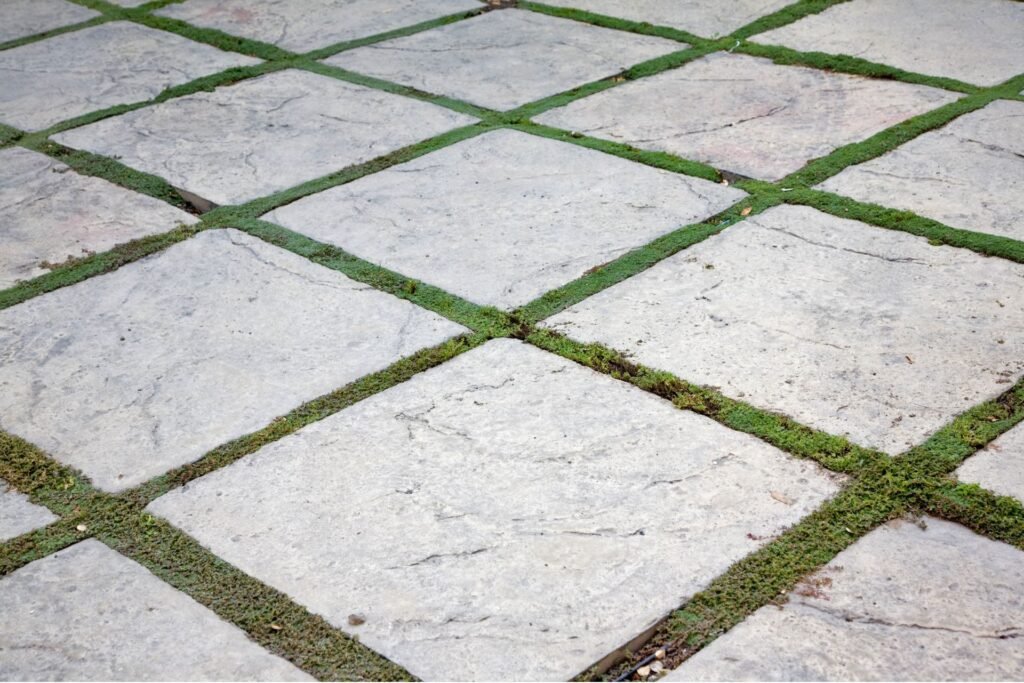
Concrete Pavers
Overview and Installation Tips
Concrete pavers are another excellent alternative to pouring concrete directly onto dirt. These are individual units made from concrete, designed to be laid out in a pattern to form a durable and attractive surface. Pavers come in a wide range of shapes, sizes, and colors, allowing for creative and customizable designs.
One of the key benefits of concrete pavers is their flexibility. Unlike a solid slab, pavers are installed with gaps between them, allowing for natural movement and settling of the ground. This flexibility helps prevent cracking and damage, which is a common issue with traditional concrete slabs.
Installing concrete pavers involves a few critical steps to ensure a long-lasting result. First, it’s essential to prepare a stable base. This typically involves excavating the area, laying down a layer of gravel, and compacting it to create a solid foundation. Next, a layer of sand is spread over the gravel, providing a smooth surface for the pavers.
Once the base is prepared, the pavers are laid out in the desired pattern. It’s crucial to ensure they are evenly spaced and level. After laying the pavers, sand is swept into the gaps to lock them in place, and the entire surface is compacted to secure the installation.
Concrete pavers are perfect for driveways, walkways, and patios. Their aesthetic appeal and durability make them a popular choice for both residential and commercial projects.
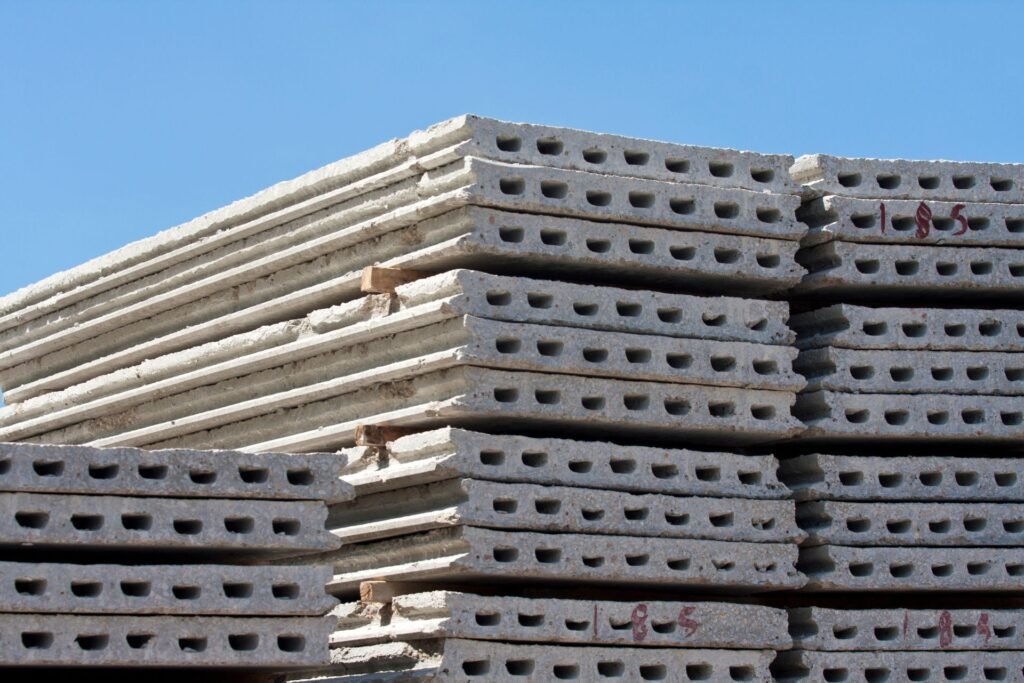
Precast Concrete Panels
Advantages and Common Applications
Precast concrete panels offer a modern and efficient solution for various construction needs. These panels are manufactured off-site and then transported to the construction site, where they are assembled into the desired structure. This method offers several advantages over traditional concrete pouring.
One significant benefit of precast concrete panels is their speed of construction. Since the panels are pre-made, the on-site assembly process is much faster than traditional methods. This can result in substantial time savings, particularly for large-scale projects.
Another advantage is the high level of quality control. Precast panels are produced in a controlled environment, ensuring consistent quality and strength. This consistency is crucial for projects that require a high degree of precision and reliability.
Precast concrete panels are highly versatile and can be used in a wide range of applications. Common uses include building facades, sound barriers, retaining walls, and even entire building structures. Their durability and strength make them suitable for both residential and commercial projects.
In addition to their structural benefits, precast panels can also be designed to meet specific aesthetic requirements. They can be produced in various textures, colors, and finishes, allowing for creative and attractive designs that enhance the overall appearance of a project.
In conclusion, when considering alternatives to pouring concrete directly onto dirt, pre-poured concrete slabs, concrete pavers, and precast concrete panels each offer unique advantages. By understanding their benefits and applications, you can make an informed decision that best suits your construction needs. Whether you prioritize speed, quality, or aesthetics, there’s a concrete solution that will meet your requirements.
Expert Opinions And Case Studies
When it comes to pouring concrete, preparation is key. Expert insights and real-life case studies can illuminate the stark differences in outcomes between projects that poured directly on dirt and those that meticulously prepared a base. This section delves into professional opinions and practical examples to highlight the best practices and common pitfalls in concrete work.
Professional Insights
Quotes and Tips from Industry Experts
Gaining wisdom from seasoned professionals in the concrete industry can provide invaluable guidance. Experts often emphasize the importance of a solid foundation for any concrete project. For instance, John Doe, a renowned civil engineer with over 20 years of experience, advises, “A well-prepared base is crucial for the longevity of concrete structures. Skimping on this step can lead to cracks and uneven surfaces.”
Jane Smith, a professional contractor, echoes this sentiment. She states, “Investing time and resources in preparing a proper base might seem tedious, but it pays off in the long run. It prevents common issues like settlement and water erosion, which can compromise the integrity of the concrete.”
These expert opinions underscore a consistent message: preparation is essential. Their combined experience and insights serve as a guide for ensuring quality and durability in concrete projects.
Real-Life Examples
Case Studies of Projects That Poured on Dirt Versus Those That Prepared a Base
To further illustrate the importance of proper base preparation, let’s examine some real-life case studies.
Case Study 1: Pouring on Dirt
In one project, a contractor opted to pour concrete directly on a dirt surface without any base preparation. Initially, the project appeared to be a success, with the concrete setting well and looking smooth. However, within a few months, issues began to surface. The concrete started to crack and develop uneven patches. Rainwater seeped into the soil beneath, causing further instability and deterioration. This project serves as a cautionary tale, highlighting the risks of neglecting base preparation.
Case Study 2: Preparing a Base
Contrast this with another project where a contractor took the time to prepare a proper base. This involved compacting the soil, adding a layer of gravel, and ensuring proper drainage. The concrete pour was then completed on this well-prepared base. The result was a durable, even surface that showed no signs of cracking or shifting even after several years. The success of this project demonstrates the benefits of thorough preparation, including increased longevity and structural integrity.
Lessons Learned and Outcomes
From these case studies, several key lessons emerge. First and foremost, pouring concrete directly on dirt is a gamble with high stakes, often resulting in costly repairs and a shorter lifespan of the concrete. On the other hand, preparing a base, though it may require more initial effort and expense, ensures a more stable and long-lasting structure.
These examples underscore the critical importance of following best practices in concrete work. They illustrate that while shortcuts might offer temporary convenience, they are often outweighed by the long-term benefits of thorough preparation.
In conclusion, professional insights and real-life examples provide a compelling case for the importance of base preparation in concrete projects. By heeding the advice of industry experts and learning from real-world case studies, you can ensure your concrete work is both durable and resilient.

FAQs: About Is It OK To Pour Concrete On Dirt
Can I pour concrete directly on the soil?
Pouring concrete directly on soil is not advisable because the soil lacks the stability and support needed to prevent cracks and uneven surfaces. A prepared sub-base of gravel or sand is recommended for better results.
How thick should a concrete slab be on dirt?
When pouring concrete on a prepared dirt surface, the slab should typically be at least 4 inches thick for most residential applications. For areas with heavier loads, a thickness of 6 inches or more may be necessary.
What type of gravel is best for a concrete base?
Crushed stone or gravel with a mix of sizes ranging from small particles to larger pieces is ideal. This type of gravel compacts well, providing a stable base that drains properly and supports the concrete slab.
How long should concrete cured before use?
Concrete should be allowed to cure for at least 28 days to reach its full strength. Light foot traffic can be allowed after 24-48 hours, but heavy loads should be avoided until the curing process is complete.
What are the risks of pouring concrete on dirt?
Risks include soil shifting, which can cause cracks and uneven surfaces, moisture seeping up and weakening the concrete, and inadequate support leading to structural issues over time.
How can I prepare the ground before pouring concrete?
Start by testing the soil for stability. Clear the area of vegetation and debris, then compact the soil. Add a layer of gravel or sand, compact it, and ensure it is level before pouring the concrete.
Do I need to use reinforcement when pouring concrete on dirt?
Yes, using reinforcement such as rebar or wire mesh is highly recommended. It helps distribute the load more evenly and reduces the risk of cracks and structural failure.
What are some alternatives to pouring concrete directly on dirt?
Alternatives include using pre-poured concrete slabs, concrete pavers, or precast concrete panels. These options can provide more stability and durability for various applications.
Can I pour concrete over existing dirt for a small project?
For small, non-load-bearing projects like garden paths, it might be acceptable to pour concrete on well-compacted dirt. However, for better longevity and performance, preparing a sub-base is still recommended.
How do I prevent moisture problems when pouring concrete on dirt?
To prevent moisture issues, ensure proper drainage around the site. Use a vapor barrier or waterproofing membrane between the sub-base and the concrete. This helps keep moisture from seeping into the concrete and causing damage.
Conclusion
In conclusion, pouring concrete on dirt involves several key considerations and best practices. First, we highlighted the importance of proper ground preparation, including removing debris and compacting the soil to ensure a stable base. Second, we emphasized using a gravel or sand layer to improve drainage and prevent future cracking. Third, applying a moisture barrier helps protect the concrete from ground moisture. For final recommendations, if you decide to pour concrete directly on dirt, ensure meticulous preparation to avoid future issues. Always compact the soil and add a protective layer. We encourage readers to share their experiences or ask questions in the comments. For personalized advice tailored to your specific project, consulting a professional is highly recommended.
About the Author:
Mike Veail is a recognized digital marketing expert with over 6 years of experience in helping tradespeople and small businesses thrive online. A former quantity surveyor, Mike combines deep industry knowledge with hands-on expertise in SEO and Google Ads. His marketing strategies are tailored to the specific needs of the trades sector, helping businesses increase visibility and generate more leads through proven, ethical methods.
Mike has successfully partnered with numerous companies, establishing a track record of delivering measurable results. His work has been featured across various platforms that showcase his expertise in lead generation and online marketing for the trades sector.
Learn more about Mike's experience and services at https://theleadguy.online or follow him on social media: