Welcome to your ultimate guide on how to repair an old cracked concrete driveway! If you’ve ever noticed unsightly cracks marring the surface of your driveway, you’re not alone. Maintaining your driveway is crucial not only for its aesthetic appeal but also for its structural integrity. Cracks can develop over time due to various factors such as weather conditions, heavy loads, poor installation, and soil movement. This comprehensive guide aims to walk you through the steps needed to assess the damage, prepare for repair, and execute the fix, ensuring your driveway looks as good as new and remains functional for years to come. Whether you’re dealing with minor hairline fractures or larger structural issues, we’ve got you covered with practical advice and easy-to-follow instructions. Let’s get started on restoring your driveway to its former glory!
To repair an old cracked concrete driveway, start by cleaning the cracks thoroughly, removing any debris and loose concrete. For small cracks, apply a crack sealant and smooth the surface. For larger cracks, widen them using a chisel, clean them out, and fill with a concrete patching compound. After the repairs, consider resurfacing the entire driveway for a uniform look. Regular maintenance, such as cleaning and sealing, can help prevent future cracks and extend the life of your driveway.
Table of Contents
Understanding Concrete Driveway Cracks
Concrete driveways are a popular choice for homeowners due to their durability and longevity. However, over time, it’s not uncommon for cracks to appear. Understanding the different types of cracks and their causes can help you take preventive measures and decide on the best repair methods.
Types of Cracks
Hairline Cracks
Hairline cracks are the most common and least concerning type of cracks in concrete driveways. These are very fine and often barely noticeable unless you look closely. Hairline cracks usually occur due to the natural curing process of concrete, where minor shrinkage happens as the concrete dries. Although these cracks are typically not structural issues, they can still allow water to seep in, potentially leading to more significant problems if left untreated.
Larger Cracks
Larger cracks are more noticeable and can vary in width from a few millimeters to a centimeter or more. These cracks can indicate more serious issues than hairline cracks. Larger cracks may develop from repeated exposure to harsh weather conditions, such as freeze-thaw cycles, which cause the concrete to expand and contract. While they may not immediately affect the driveway’s structural integrity, addressing them promptly can prevent them from worsening.
Structural Cracks
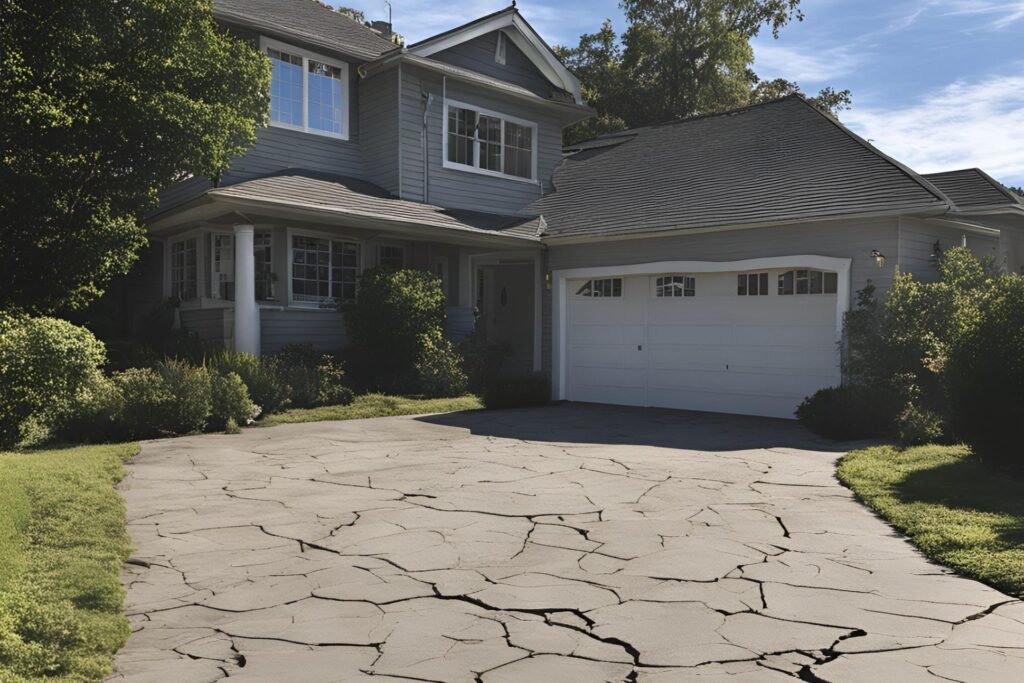
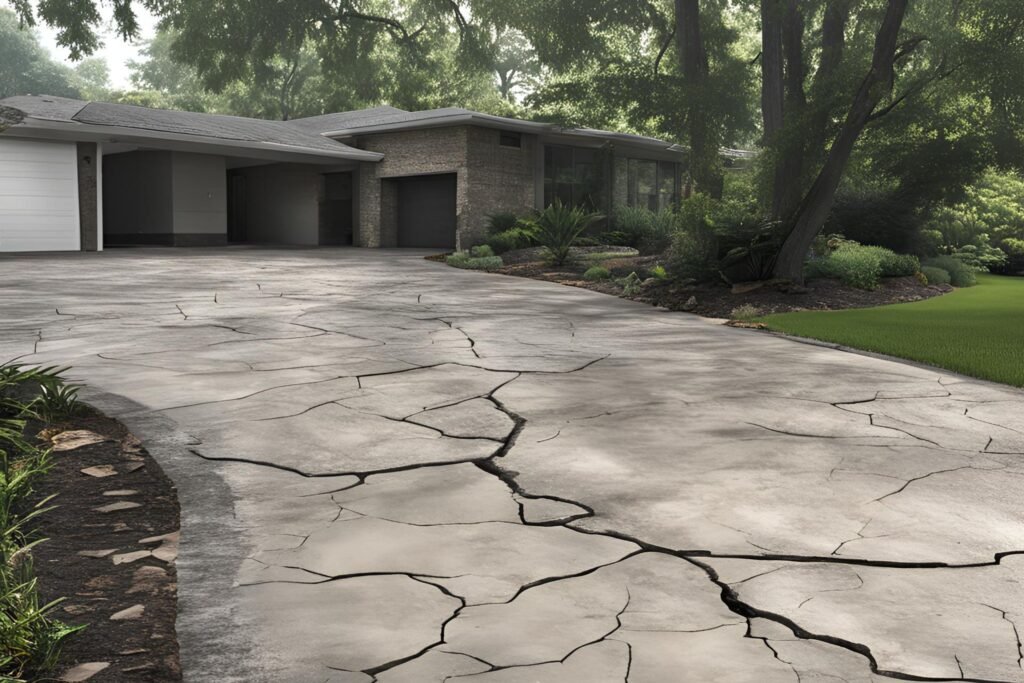
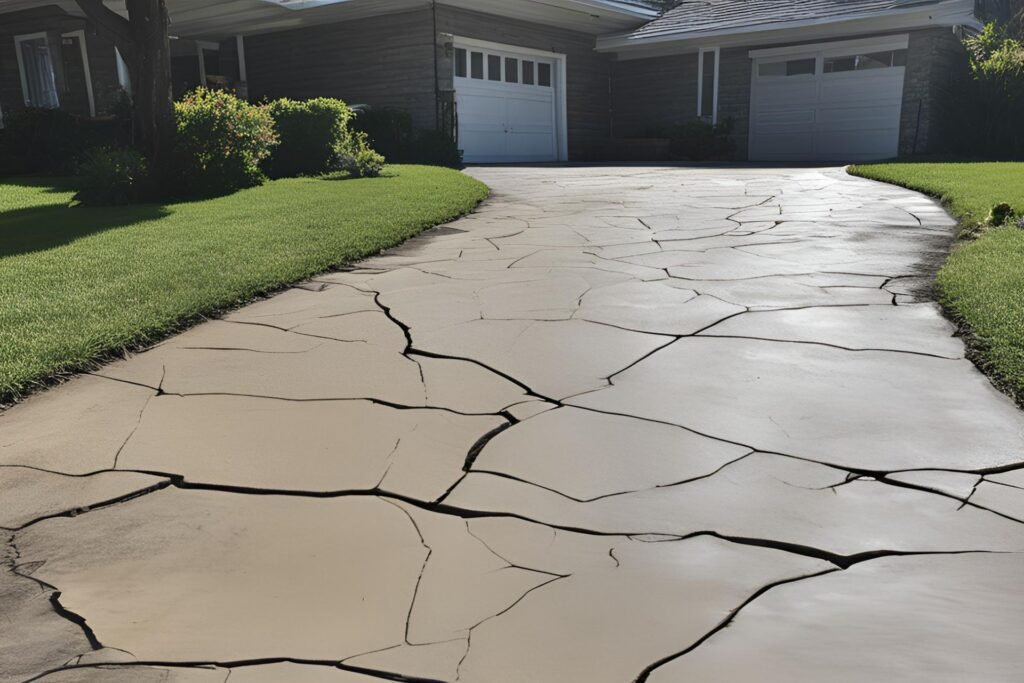
Structural cracks are the most severe and can compromise the integrity of your driveway. These cracks often appear in patterns, such as diagonal or stair-step cracks, and can be quite wide. Structural cracks are usually a sign of underlying issues, such as significant soil movement or poor construction practices. If you notice structural cracks, it’s crucial to consult a professional to assess the situation and recommend appropriate repairs.
Causes of Cracks
Weather Conditions
Weather conditions play a significant role in the formation of cracks in concrete driveways. Extreme temperatures, both hot and cold, can cause the concrete to expand and contract. In colder climates, the freeze-thaw cycle is particularly damaging, as water seeps into small cracks, freezes, and expands, causing the cracks to widen. Similarly, intense heat can cause the concrete to expand and create stress, leading to cracks.
Heavy Loads
Concrete driveways are designed to withstand significant weight, but overloading them can lead to cracks. Heavy vehicles, such as trucks or RVs, can exert excessive pressure on the surface, especially if the driveway wasn’t designed to handle such loads. Over time, the repeated stress from heavy loads can cause the concrete to crack, particularly if the underlying base isn’t adequately compacted or designed to support the weight.
Poor Installation
The quality of installation is crucial for the longevity of a concrete driveway. Poor installation practices, such as inadequate mixing, insufficient reinforcement, or improper curing, can lead to premature cracking. For instance, if the concrete mixture lacks the proper ratio of water to cement, it can weaken the overall structure. Similarly, failing to install control joints, which help manage the natural expansion and contraction of concrete, can result in uncontrolled cracking.
Soil Movement
Soil movement is another common cause of concrete driveway cracks. The ground beneath the driveway can shift due to various factors, such as changes in moisture levels, erosion, or the natural settling of the soil. This movement creates an unstable base for the concrete, leading to cracks as the concrete adjusts to the shifting ground. In some cases, expansive soils, which swell when wet and shrink when dry, can cause significant movement and stress on the driveway.
Understanding the types and causes of concrete driveway cracks is essential for proper maintenance and repair. By identifying the specific issues and addressing them promptly, you can extend the lifespan of your driveway and maintain its aesthetic appeal and functionality. Whether it’s taking preventive measures against weather conditions, avoiding excessive loads, ensuring proper installation, or stabilizing the soil, proactive steps can make a significant difference in the longevity of your concrete driveway.
Assessing The Damage
Understanding the extent of damage to a structure is a crucial first step in planning repairs. Proper assessment can help identify the severity of the problem and the necessary steps for remediation. Here’s a detailed look at how to assess damage, focusing on visual inspections, measuring cracks, and determining their depth, along with knowing when it’s time to call in a professional.
Inspection Steps
Visual Inspection
Begin by conducting a thorough visual inspection of the affected area. Look for visible signs of damage such as cracks, discoloration, and uneven surfaces. Note the location and pattern of any cracks, as these can provide clues about the underlying issues. For instance, horizontal cracks might indicate pressure from soil, while vertical cracks could suggest settling.
Measuring the Cracks
Next, measure the width of the cracks using a ruler or a crack width gauge. Document these measurements meticulously, as they are essential for monitoring changes over time. Typically, cracks less than 1/8 inch wide are considered minor and often do not pose significant structural concerns. However, wider cracks could signal more serious problems that need immediate attention.
Determining the Depth of Cracks
To determine the depth of cracks, use a flashlight and a thin probe. Insert the probe into the crack and measure how deep it goes. Shallow cracks may only affect the surface and can be easier to repair, while deeper cracks might penetrate through the material, potentially compromising structural integrity. Knowing the depth helps in choosing the right repair method and materials.
When to Call a Professional
Signs of Severe Damage
There are specific indicators that suggest the damage might be beyond simple DIY repairs. If you observe cracks that are rapidly widening, multiple cracks appearing simultaneously, or cracks that go through both sides of a wall, it’s time to seek professional advice. These symptoms could indicate serious structural issues that require expert intervention.
Structural Concerns
In addition to cracks, other structural concerns should prompt a call to a professional. These include sagging floors, doors and windows that stick or do not close properly, and visible shifts in the building’s foundation. These signs often point to significant underlying problems that could worsen if not addressed promptly. A structural engineer or a qualified contractor can perform a comprehensive assessment and recommend the appropriate corrective measures.
By following these inspection steps and knowing when to call a professional, you can effectively assess the damage to your structure and take the necessary actions to ensure its safety and stability. Regular monitoring and timely intervention are key to maintaining the integrity of any building.

Preparing For Repair
Repairing concrete may seem daunting, but with proper preparation, you can achieve professional results. Here’s a comprehensive guide on how to prepare for repairing your old cracked concrete driveway, ensuring that you have everything you need and are working safely.
Gathering Materials and Tools
Before you start, it’s essential to gather all the materials and tools you’ll need for the job. This ensures a smooth repair process without unnecessary interruptions.
1. Concrete Patching Compound: This is essential for filling larger cracks and holes in your driveway. It’s designed to adhere strongly to existing concrete, providing a durable fix.
2. Crack Sealant: For smaller cracks, crack sealant is ideal. It’s flexible, which helps it withstand temperature changes without cracking again.
3. Concrete Resurfacer: After patching and sealing, a concrete resurfacer helps to give your driveway a fresh, uniform look. It’s a thin overlay that bonds well with the existing surface.
4. Tools:
- Chisel and Hammer: These are used to chip away any loose or damaged concrete around the crack or hole. This helps to create a clean area for the patching compound.
- Wire Brush: Use this to scrub the area around the crack to remove any debris or loose particles. This ensures that the patching compound adheres properly.
- Broom: After using the wire brush, sweep away any remaining debris to keep the area clean.
- Trowel: This is used to apply and smooth the patching compound and resurfacer. A good trowel will help you achieve a smooth, professional finish.
Safety Precautions
Repairing concrete involves working with materials and tools that can be hazardous if not handled properly. Here are some key safety precautions to keep in mind:
1. Wearing Protective Gear: Always wear protective gear, including gloves, safety goggles, and a dust mask. This protects your skin, eyes, and lungs from harmful dust and chemicals.
2. Ensuring Proper Ventilation: If you’re working in an enclosed space, make sure it’s well-ventilated. Many concrete repair products contain chemicals that can be harmful if inhaled in large quantities.
3. Handling Chemicals Safely: When handling concrete patching compounds, sealants, and resurfacers, follow the manufacturer’s instructions carefully. Avoid direct skin contact and wash your hands thoroughly after use. Store all chemicals out of reach of children and pets.
By gathering the right materials and tools and following these safety precautions, you’ll be well-prepared to tackle your concrete repair project. Proper preparation is key to ensuring a long-lasting and visually appealing repair that can withstand the elements and daily use.
Repairing Small Cracks
Cleaning the Area
Removing Debris and Loose Concrete
When it comes to repairing small cracks in your concrete driveway, the first step is to thoroughly clean the area. Begin by removing any debris, dirt, or loose concrete from the crack. This can be done using a broom, a vacuum, or even a simple garden hose. Ensuring the crack is free from debris is crucial because any remaining particles can prevent the sealant from adhering properly, leading to an ineffective repair.
Cleaning with a Wire Brush
After removing the loose debris, the next step is to clean the crack with a wire brush. This helps to get rid of any stubborn dirt and small loose pieces of concrete that might still be clinging to the edges of the crack. Scrubbing the crack with a wire brush will also slightly roughen the surface, which can help the sealant adhere better. Make sure to thoroughly clean out the dust created by this process, using either a brush or a vacuum.
Filling the Cracks
Applying Crack Sealant
Once the crack is clean and dry, it’s time to fill it with a crack sealant. For small cracks, a liquid concrete crack filler or a crack sealant works best. These products are designed to flow into the crack and create a strong bond with the surrounding concrete. Use a caulking gun to apply the sealant, carefully filling the crack from top to bottom. Ensure that the sealant completely fills the crack and slightly overfills it to allow for settling.
Smoothing the Surface
After applying the sealant, smooth the surface with a putty knife or a similar tool. This step ensures that the sealant is evenly distributed and flush with the surface of the driveway, creating a seamless repair. Smoothing the surface also helps to remove any air bubbles that may have formed during the application process. Take your time with this step to achieve a professional-looking finish.
Allowing Time to Cure
The final step in repairing small cracks in your concrete driveway is to allow the sealant to cure. The curing time can vary depending on the type of sealant used and the weather conditions, but it’s typically recommended to let it cure for at least 24 hours. During this time, keep the area dry and avoid walking or driving over the repaired crack. Proper curing ensures that the sealant hardens correctly and bonds effectively with the concrete, providing a long-lasting repair.
By following these steps, you can effectively repair small cracks in your concrete driveway, preventing further damage and maintaining the appearance and functionality of your driveway. Regular maintenance and prompt repairs are key to extending the life of your concrete surfaces.
Repairing Larger Cracks
Widening and Cleaning the Crack
When dealing with larger cracks in concrete, the first step is to widen and clean the crack thoroughly. This ensures that the repair materials can adhere properly and provide a durable solution.
Using a Chisel and Hammer
Start by using a chisel and hammer to widen the crack. This might seem counterintuitive, but creating a V-shaped groove will help the patching compound to better bond with the existing concrete. Hold the chisel at an angle and gently tap it with the hammer along the length of the crack. Be sure to work slowly and carefully to avoid causing further damage to the surrounding concrete.
Removing Debris
Once the crack has been widened, it’s essential to remove all debris from the area. Use a stiff brush to sweep away loose particles, dust, and any small pieces of concrete. For a more thorough cleaning, consider using a vacuum or compressed air to ensure the crack is completely free of debris. This step is crucial because any remaining dirt or particles can prevent the patching compound from adhering properly.
Filling the Crack with Concrete Patching Compound
With the crack prepared, the next step is to fill it with a concrete patching compound. This material is designed to bond with the existing concrete and provide a strong, durable repair.
Mixing the Compound
Begin by mixing the concrete patching compound according to the manufacturer’s instructions. It’s important to get the consistency right; the mixture should be thick enough to stay in place but workable enough to spread easily. Use a trowel or a mixing paddle to blend the compound until it’s smooth and free of lumps.
Applying and Smoothing
Once the compound is ready, apply it to the crack using a trowel. Press the material firmly into the groove, making sure to fill it completely. As you work, smooth the surface of the compound with the trowel to ensure it’s level with the surrounding concrete. This will help create a seamless repair that blends in with the rest of the surface.
Curing Process
After the compound has been applied, it’s essential to allow it to cure properly. The curing process is critical for ensuring the strength and durability of the repair. Follow the manufacturer’s instructions for curing times, which typically involve keeping the area moist for a certain period. This can be done by covering the repair with a damp cloth or plastic sheet and periodically re-wetting it. Avoid exposing the area to heavy traffic or stress until the compound has fully cured.
By following these steps, you can effectively repair larger cracks in concrete, restoring the integrity and appearance of the surface. Proper preparation, application, and curing are key to ensuring a long-lasting repair that will withstand the elements and everyday wear and tear.
Resurfacing The Driveway
Resurfacing your driveway is a great way to restore its appearance and functionality without the need for a complete overhaul. It involves applying a new layer of material over the existing surface, which can help to address minor damage and improve the overall look. Here’s a comprehensive guide on when and how to resurface your driveway.
When to Resurface
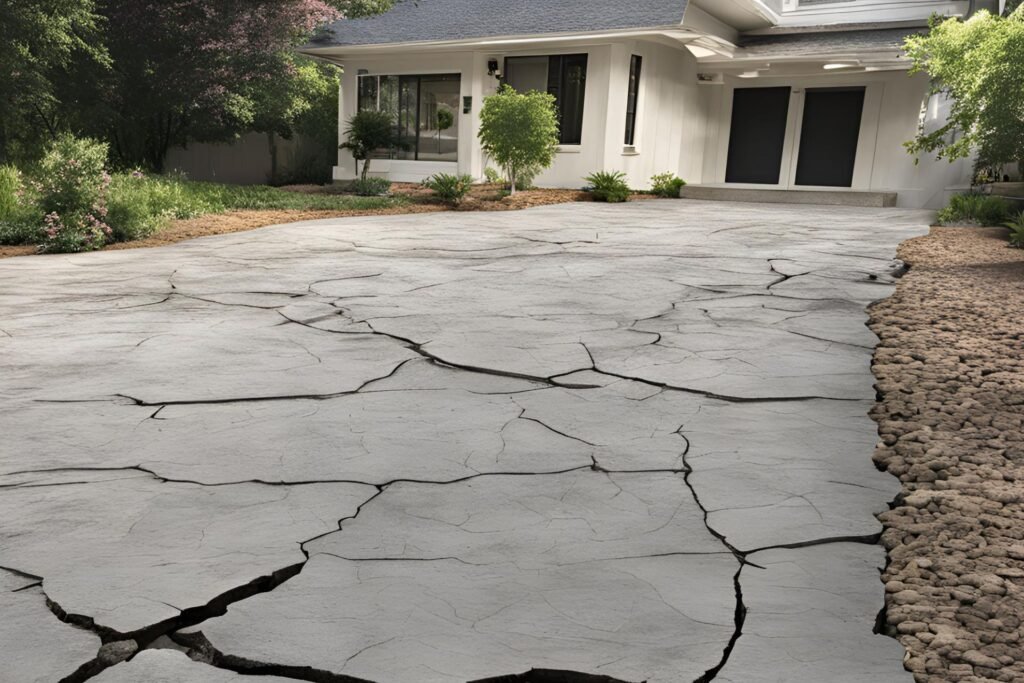
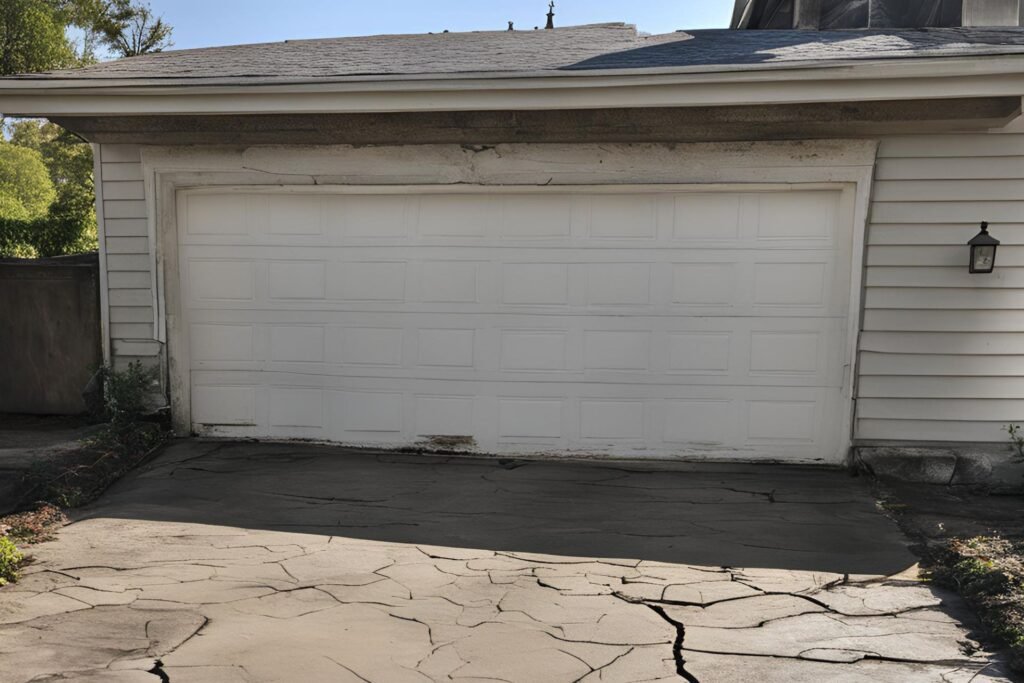
- Extensive Surface Cracks: One of the primary indicators that your driveway needs resurfacing is the presence of numerous surface cracks. These cracks can occur due to weather conditions, heavy use, or natural wear and tear over time. While small cracks might be addressed with simple repairs, extensive surface cracking suggests a more widespread issue that resurfacing can effectively resolve.
- Aged Appearance: Over the years, driveways can lose their aesthetic appeal, becoming discolored, worn, and generally unattractive. If your driveway has seen better days and is starting to look old and tired, resurfacing can rejuvenate its appearance, making it look almost new again. This is particularly important if you’re planning to sell your home or simply want to enhance your property’s curb appeal.
Steps for Resurfacing
- Cleaning the Driveway Thoroughly: The first step in resurfacing is to clean the driveway meticulously. This involves removing all dirt, debris, oil stains, and loose material. A pressure washer can be particularly effective for this task, ensuring that the surface is as clean as possible. This step is crucial because any residual dirt or oil can prevent the new resurfacing material from adhering properly, leading to an uneven finish or premature failure.
- Applying the Resurfacer: Once the driveway is clean, the resurfacer can be applied. The resurfacing material is usually a mixture of cement, sand, and other additives designed to bond with the existing concrete. It’s essential to follow the manufacturer’s instructions for mixing and applying the resurfacer. Typically, you’ll start at one end of the driveway and work your way to the other, spreading the material evenly across the surface. A squeegee or trowel can be used to help distribute the resurfacer and fill in any minor cracks or holes.
- Smoothing and Finishing: After applying the resurfacer, it’s important to smooth and finish the surface. This step ensures that the new layer is even and free of imperfections. Use a finishing trowel to smooth out the resurfacer, paying close attention to any areas that may have settled or pooled. Achieving a uniform surface will not only improve the appearance of your driveway but also enhance its durability and longevity.
- Curing Time: Finally, the resurfacer needs time to cure. This process allows the material to harden and bond effectively with the underlying concrete. The curing time can vary depending on the product used and the weather conditions, but it typically ranges from 24 to 48 hours. During this time, it’s crucial to keep the driveway free from foot traffic, vehicles, and any other potential disturbances. Proper curing is essential to ensure the longevity and performance of the resurfaced driveway.
By following these steps, you can successfully resurface your driveway, addressing any existing issues and giving it a fresh, new look. Regular maintenance and timely resurfacing can extend the life of your driveway, making it a worthwhile investment for any homeowner.
Preventative Maintenance Tips
Proper preventative maintenance is crucial to extend the life of your driveway and keep it looking its best. Here are some essential tips to help you maintain your driveway effectively.
Regular Cleaning and Sealing
Frequency of Maintenance
Maintaining a clean and sealed driveway can significantly prolong its lifespan. It’s recommended to clean your driveway at least twice a year. In the spring, clean away the debris and salt residues left from winter. In the fall, remove leaves and organic matter that can stain the surface. Sealing your driveway should be done every 2-3 years to protect it from the elements and prevent cracks.
Products to Use
When cleaning your driveway, use a high-pressure washer to remove stubborn dirt and stains. For cleaning solutions, a mixture of water and mild detergent works well. For tougher stains, consider using a driveway cleaner specifically designed for concrete or asphalt surfaces. When it comes to sealing, choose a high-quality sealant that matches your driveway type. Acrylic sealers are great for concrete driveways, while asphalt driveways benefit from coal tar or asphalt-based sealers.
Avoiding Heavy Loads
Tips for Heavy Vehicle Parking
Driveways are designed to withstand regular vehicle traffic, but heavy loads can cause significant damage over time. If you need to park heavy vehicles such as RVs or trucks, try to distribute the weight evenly. Use plywood or steel plates under the wheels to spread the load and prevent indentations or cracks. Additionally, avoid parking heavy vehicles in the same spot repeatedly to reduce the risk of concentrated stress on one area of the driveway.
Proper Drainage
Ensuring Water Does Not Pool on Driveway
Water pooling on your driveway can lead to erosion, cracks, and other forms of damage. Ensure your driveway has a proper slope to direct water away from the surface. Installing a drainage system, such as a French drain or a trench drain, can be an effective solution to manage runoff. Regularly check and clean your driveway’s edges to prevent blockages that can cause water to accumulate.
Seasonal Care
Winterizing Your Driveway
Winter can be harsh on driveways, especially in regions with freezing temperatures. To protect your driveway during winter, start by sealing any existing cracks before the first snowfall. This prevents water from seeping in and freezing, which can expand and worsen the cracks. Use sand instead of salt for de-icing, as salt can damage the surface over time. If you must use a de-icer, opt for a driveway-friendly product.
Managing Temperature Extremes
Temperature extremes can cause driveways to expand and contract, leading to cracks and other damage. In hot climates, consider using a lighter-colored sealant to reflect sunlight and reduce heat absorption. During colder months, avoid using metal shovels for snow removal, as they can scratch and damage the surface. Instead, use plastic shovels or snow blowers. Regularly check your driveway for signs of wear and address any issues promptly to prevent further damage.
By following these preventative maintenance tips, you can keep your driveway in excellent condition for years to come. Regular care and attention to detail will not only enhance the appearance of your driveway but also save you money on costly repairs in the long run.

When To Replace Instead Of Repair
Knowing when to replace instead of repair is crucial for maintaining the longevity and functionality of your structures. While repairs can often address minor issues, there are situations where replacement is the more viable option. This section will guide you through the signs that indicate replacement is necessary and provide an overview of the costs and considerations involved in making this decision.
Signs Replacement is Needed
Extensive Structural Damage
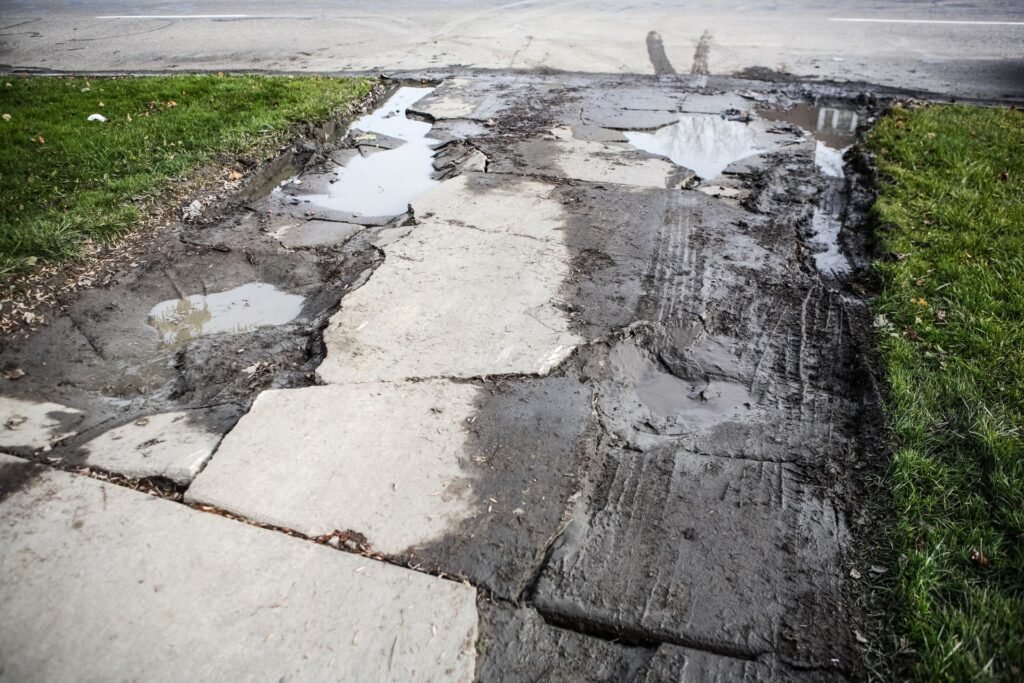
One of the clearest indicators that replacement is needed is extensive structural damage. This type of damage often affects the integrity of the entire structure, making repairs insufficient. For example, if a retaining wall has large cracks, significant tilting, or bulging, it’s likely beyond repair. These signs indicate that the structure can no longer support the loads it was designed for and pose a safety risk. In such cases, replacing the retaining wall entirely is the safest and most effective solution.
Persistent Problems Despite Repairs
If you find yourself repeatedly repairing the same issues, it might be time to consider replacement. Persistent problems such as recurring leaks, continuous settling, or repeated failures of the same components suggest that the underlying issues are not being fully addressed by repairs. Over time, these repeated repairs can add up in cost and still leave you with a structure that’s not functioning optimally. Replacement can provide a more permanent solution, ensuring that the underlying issues are resolved and the structure is safe and effective.
Costs and Considerations
Comparing Repair Costs vs. Replacement
When deciding between repair and replacement, it’s essential to compare the costs associated with each option. Repairing can be less expensive upfront, but if the repairs are frequent and costly, the total expense can quickly surpass the cost of replacement. Additionally, consider the downtime and inconvenience associated with repeated repairs. On the other hand, while replacement might have a higher initial cost, it can offer long-term savings by eliminating the need for constant repairs and providing a more reliable solution.
Long-term Benefits
The long-term benefits of replacement often outweigh the initial costs. A new structure built with modern materials and techniques can offer improved performance, increased safety, and enhanced durability. For instance, replacing an old, failing retaining wall with a new one constructed from high-quality materials can prevent future issues, reduce maintenance needs, and enhance the overall appearance of your property. Moreover, investing in replacement can add value to your property, making it a worthwhile consideration from both a functional and financial perspective.
In summary, while repairs can address minor and occasional issues, extensive structural damage and persistent problems despite repairs are clear signs that replacement is necessary. By carefully comparing the costs and considering the long-term benefits, you can make an informed decision that ensures the safety, functionality, and value of your property.
FAQs: About How Do You Repair An Old Cracked Concrete Driveway
What causes cracks in a concrete driveway?
Cracks in a concrete driveway can be caused by various factors including weather conditions, heavy loads, poor installation, soil movement, and freeze-thaw cycles. These factors can lead to expansion and contraction of the concrete, resulting in cracks.
How can I determine if a crack is structural or superficial?
Structural cracks are usually wider than 1/8 inch and may affect the integrity of the driveway. Superficial or hairline cracks are smaller and typically do not pose a significant threat to the driveway’s stability. If you’re unsure, it’s best to consult a professional.
What materials do I need to repair a cracked concrete driveway?
To repair a cracked concrete driveway, you will need concrete patching compound, crack sealant, concrete resurfacer, and tools such as a chisel, hammer, wire brush, broom, and trowel.
Can I repair concrete cracks myself, or should I hire a professional?
Small to moderate cracks can often be repaired as a DIY project with the right materials and tools. However, for extensive or structural damage, it’s advisable to hire a professional to ensure proper repair and avoid further issues.
How long does it take to repair a cracked concrete driveway?
The time required to repair a cracked concrete driveway depends on the extent of the damage. Small cracks can be repaired in a few hours, while larger cracks and resurfacing may take a day or two, including curing time.
What is the best way to clean cracks before repairing them?
Clean the cracks thoroughly by removing debris and loose concrete with a wire brush or a chisel. For deep cleaning, you can also use a pressure washer. Ensure the cracks are dry before applying any repair materials.
How do I apply concrete patching compound to larger cracks?
First, widen and clean the crack using a chisel and hammer. Mix the concrete patching compound according to the manufacturer’s instructions, then apply it into the crack with a trowel, smoothing the surface. Allow the patch to cure as recommended.
Is resurfacing necessary after repairing cracks?
Resurfacing is not always necessary but can improve the appearance and longevity of the driveway. It provides a uniform look and helps protect the repaired areas from future damage.
How often should I seal my concrete driveway?
Sealing a concrete driveway should be done every 2-3 years, or more frequently if the driveway is exposed to harsh weather conditions or heavy traffic. Regular sealing helps protect against moisture, chemicals, and wear.
What preventative measures can I take to avoid future cracks?
To prevent future cracks, maintain your driveway by cleaning it regularly, sealing it every few years, avoiding heavy loads, ensuring proper drainage, and managing temperature extremes by using appropriate winter care practices.
Conclusion
In conclusion, maintaining your driveway is crucial for its longevity and appearance. Regular maintenance helps prevent small issues from escalating into major problems. To repair small cracks, clean the area thoroughly, fill with a crack filler, and seal the surface. For larger cracks, a more extensive process involving cleaning, filling with concrete patch, and proper curing is necessary. Knowing when to seek professional help can save time and ensure a high-quality repair. A well-maintained driveway not only enhances curb appeal but also prevents costly damage. Take action now to enjoy a durable, attractive driveway. Remember, successful repairs hinge on timely attention and the right materials. By following these steps, you can keep your driveway in top condition for years to come.
About the Author:
Mike Veail is a recognized digital marketing expert with over 6 years of experience in helping tradespeople and small businesses thrive online. A former quantity surveyor, Mike combines deep industry knowledge with hands-on expertise in SEO and Google Ads. His marketing strategies are tailored to the specific needs of the trades sector, helping businesses increase visibility and generate more leads through proven, ethical methods.
Mike has successfully partnered with numerous companies, establishing a track record of delivering measurable results. His work has been featured across various platforms that showcase his expertise in lead generation and online marketing for the trades sector.
Learn more about Mike's experience and services at https://theleadguy.online or follow him on social media: